Make DIY Photo Album For Any Occasion: 10 Easy Steps
Written by Shutterfly Community
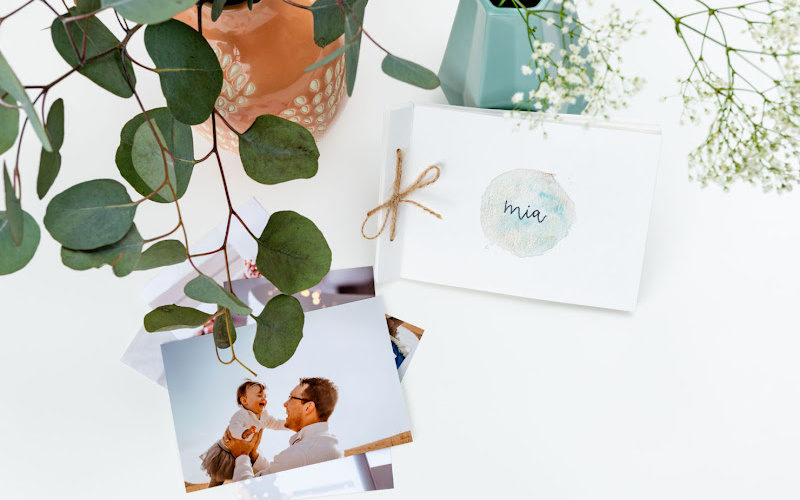
If you want to create a small treasure full of memories, a DIY photo album is perfect. Whether you want to relive your wedding day, baby’s first year, a fun school year or moments with your loved one, this easy album can be made in ten simple steps.
Don’t forget, these can also make amazing gifts for your spouse, mother, father, best friend and your loved ones. Pair them with a pretty personalized candle or photo cube to complete the look.
How To Make A DIY Album
To get started, simply pick a theme, choose your favorite printed photos and decide what card stock you want to use. Watercolors and markers work best but you could also use washi tape, colored pencils, metallic and stickers for extra fun. We started with the inside of the book first and left the cover for last.
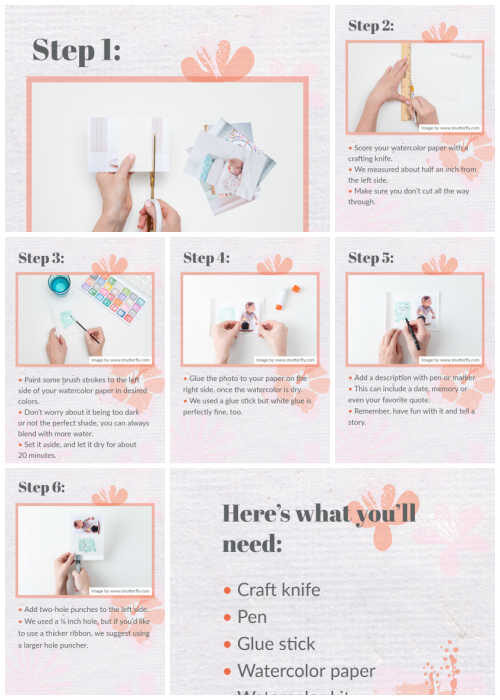
Here’s what you’ll need:
- Craft knife
- Pen
- Glue stick
- Watercolor paper
- Watercolor kit
- Printed photos
- Pre-cut paper template
- Twine
- Scissors
- ⅓ inch hole puncher
- Water for brush
- Ruler
Step 1:
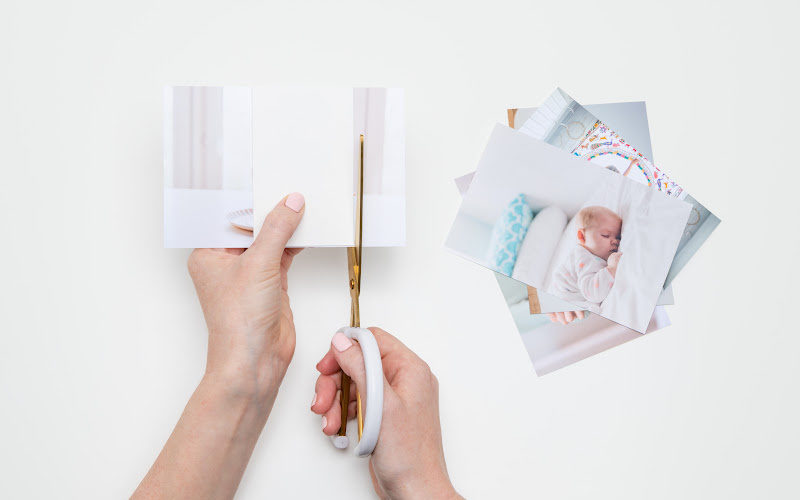
Start by cutting a 2.75×4 inch piece of watercolor paper. This will be your template for cutting out all your photos. Using that template, cut your photos with scissors and set aside. You can make it as wide as you’d like, our suggestion is simply for leaving room to decorate.
Step 2:
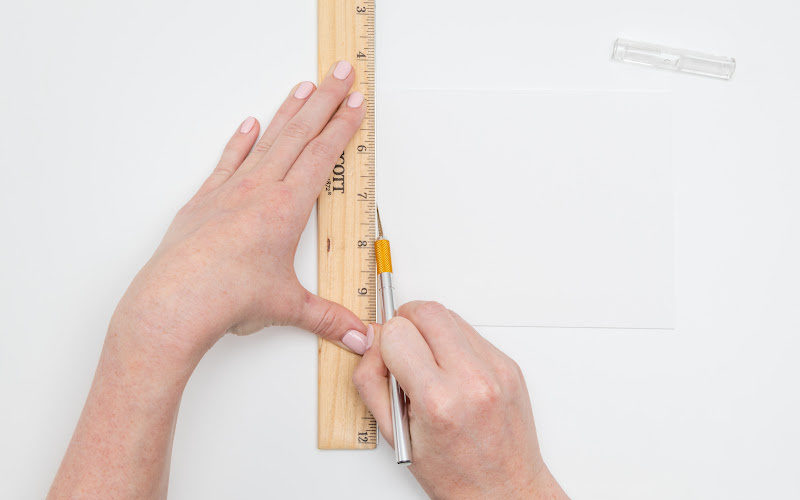
Score your watercolor paper with a crafting knife. We measured about half an inch from the left side. Make sure you don’t cut all the way through.
Step 3:
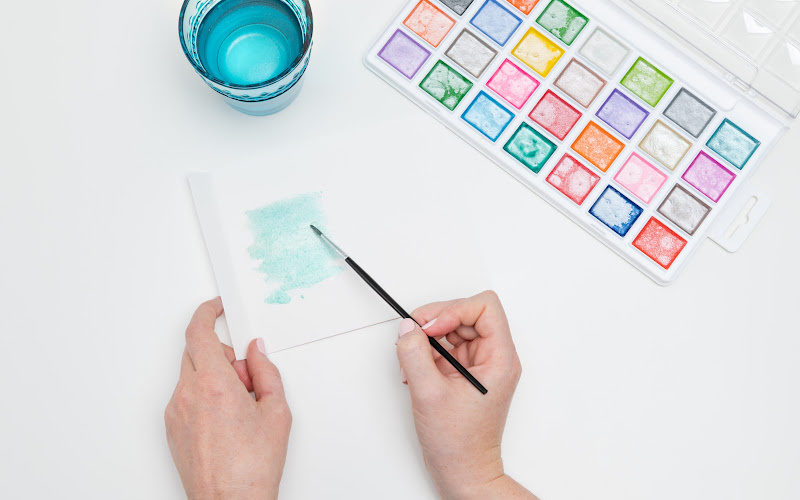
Paint some brush strokes to the left side of your watercolor paper in desired colors. Don’t worry about it being too dark or not the perfect shade, you can always blend with more water. Set it aside, and let it dry for about 20 minutes.
Step 4:
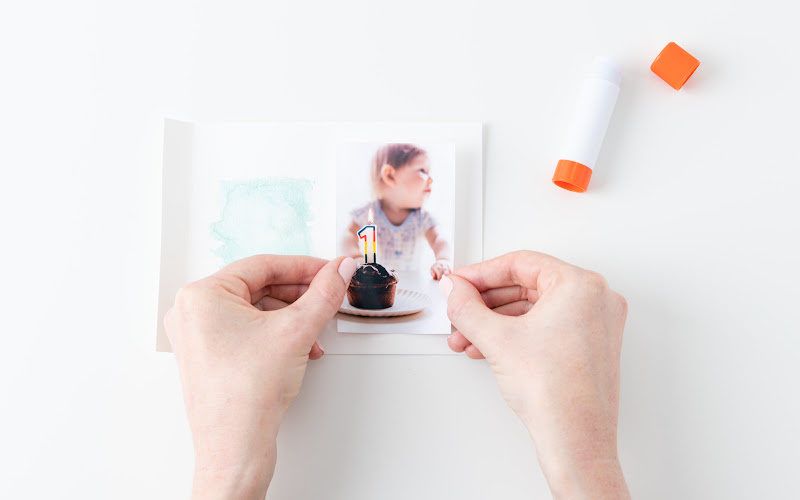
Glue the photo to your paper on the right side, once the watercolor is dry. We used a glue stick but white glue is perfectly fine, too.
Step 5:
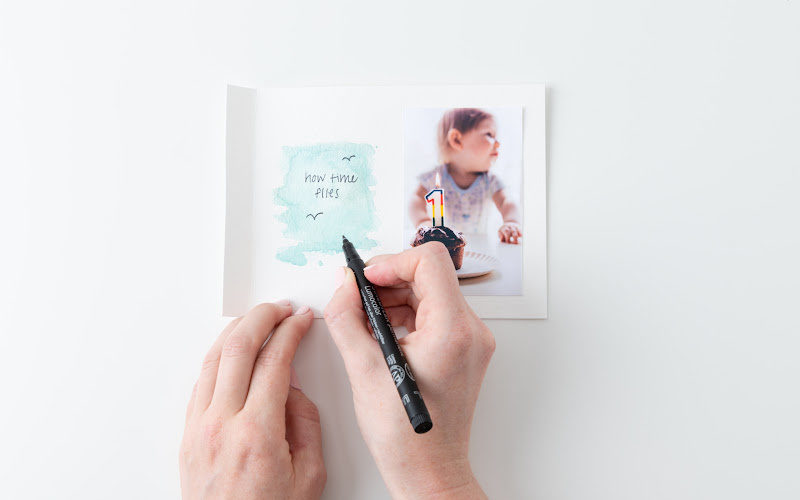
Add a description with pen or marker. This can include a date, memory or even your favorite quote. Remember, have fun with it and tell a story.
Step 6:
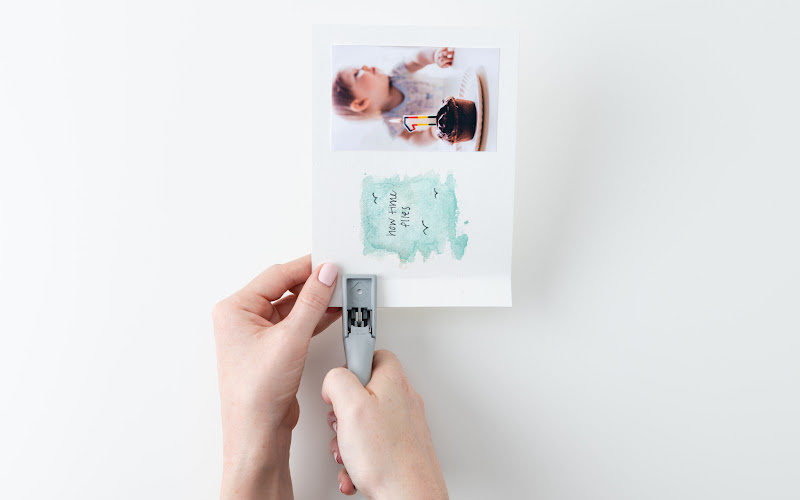
Add two hole punches to the left side. We used a ⅛ inch hole, but if you’d like to use a thicker ribbon, we suggest using a larger hole puncher.
Step 7:
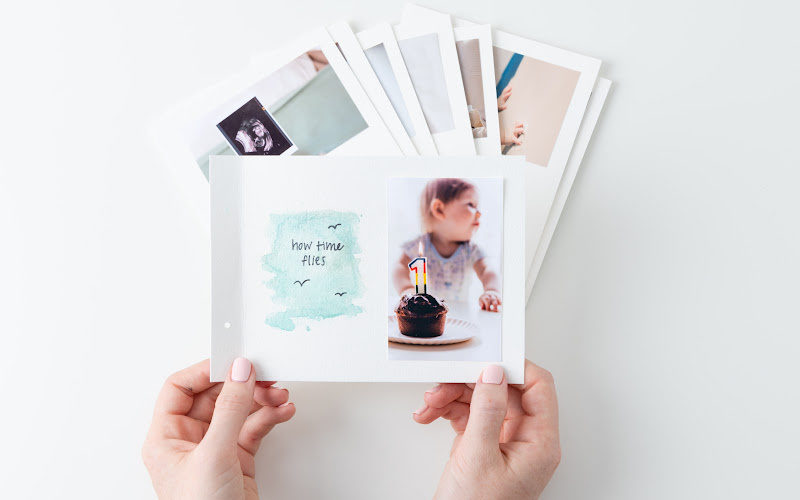
Repeat these steps for all your photos and put them in order. Make sure you lay it all out before binding!
Step 8:
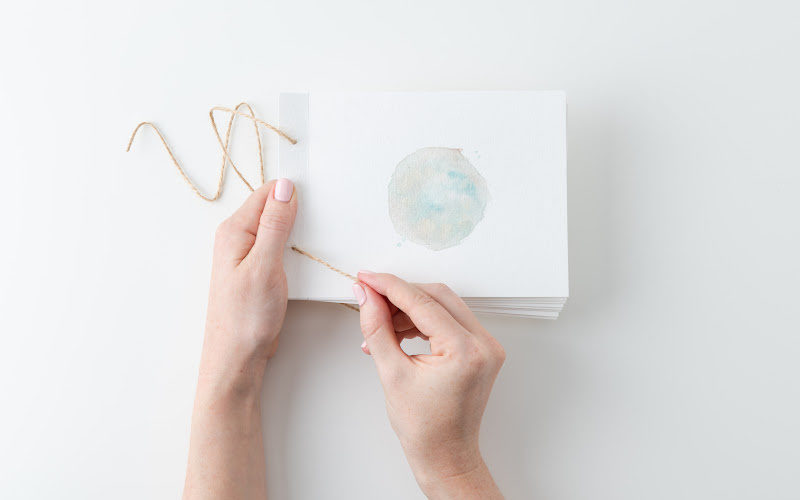
Loop a string or ribbon through the hole. We decided that twine worked best for ours but you can always use pretty ribbon or colorful string. Make sure that you loop it several times through the holes to ensure the pages stay in place.
Step 9:
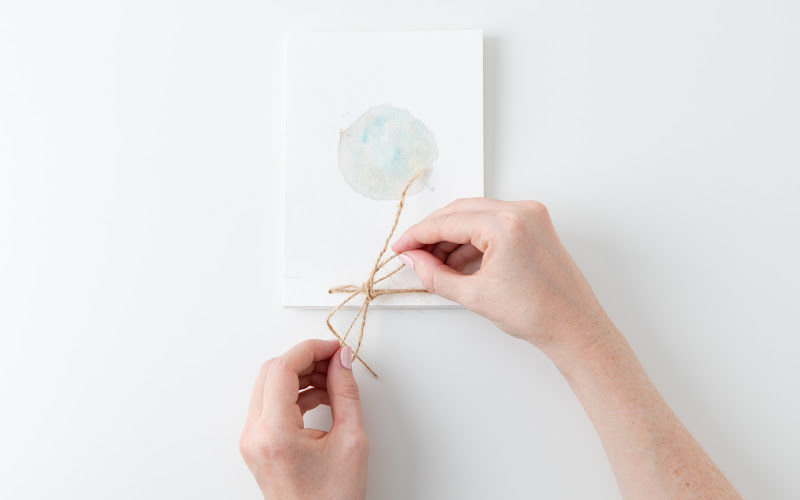
Tie a knot. Keep the knot relatively small so that it doesn’t overpower the photo album and make sure it’s tight.
Step 10:
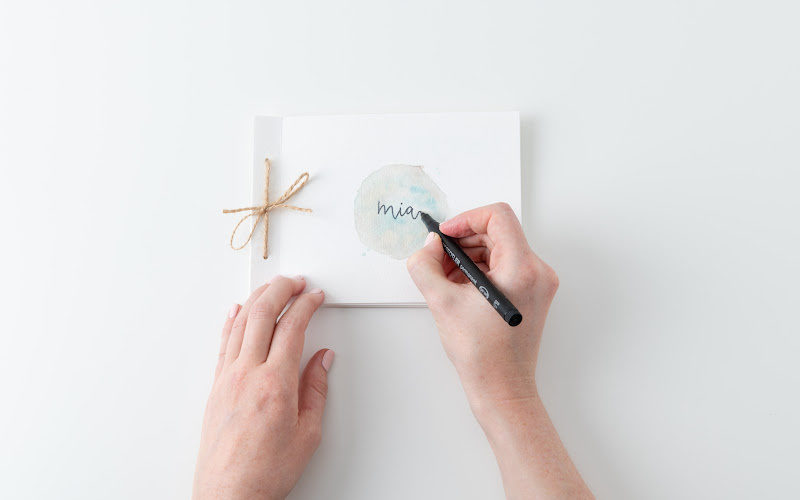
Decorate your cover with your album theme using the same watercolors, add your title and enjoy!
As you can see, our DIY tutorial is fun and easy. It’s alright if you don’t have watercolors or simply want to use a different look and theme, this tutorial will still help you put it all together.
Once you’ve made your perfect DIY album, you can display it or wrap it up for a sweet and sentimental gift.

