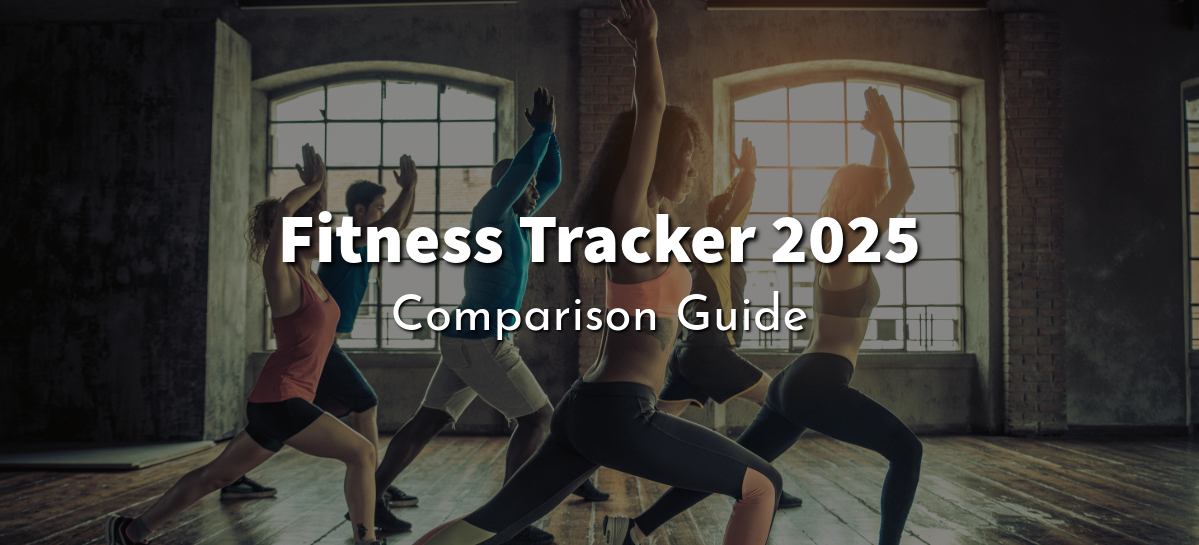
Fitness Tracker Comparison: Which One is Right for You? With so many options available, choosing the best fitness tracker can be overwhelming. Whether you’re looking

Jewelry Gifts for Mom: A Personalized Guide Based on Her Style Mother’s Day is the perfect time to show appreciation for the incredible moms in
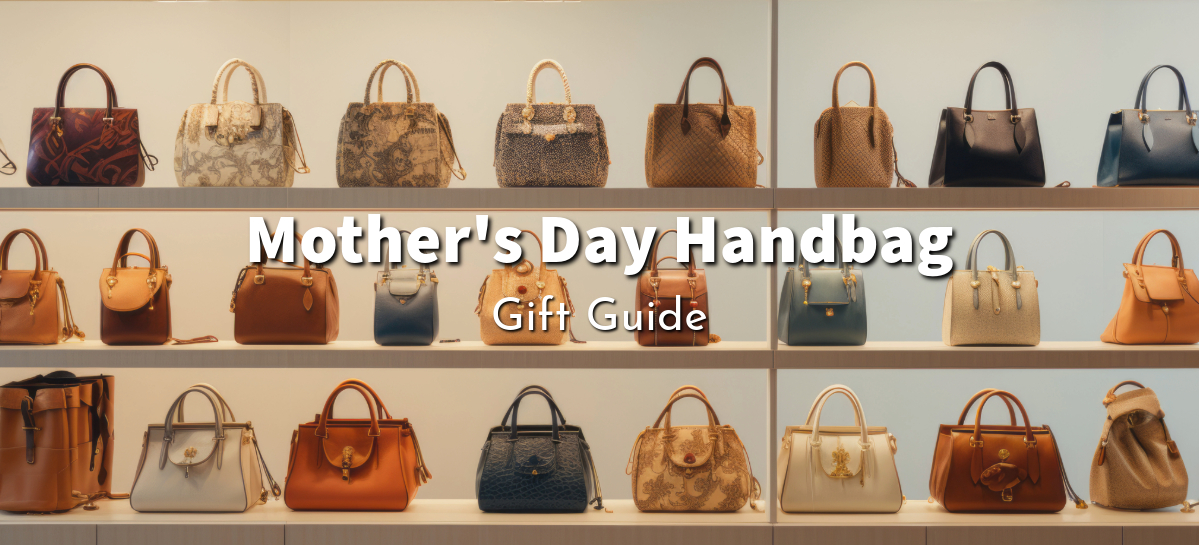
Mother’s Day Handbag Gift Guide Woman at the handbag store looking at handbags on the shelves. Mother’s Day is the perfect time to show Mom

Determining a good budget for travel depends on several factors including your destination, travel style, duration of the trip, and personal preferences.