8 Easy Steps To Make Your Own Candle Holders
Written by Shutterfly Community
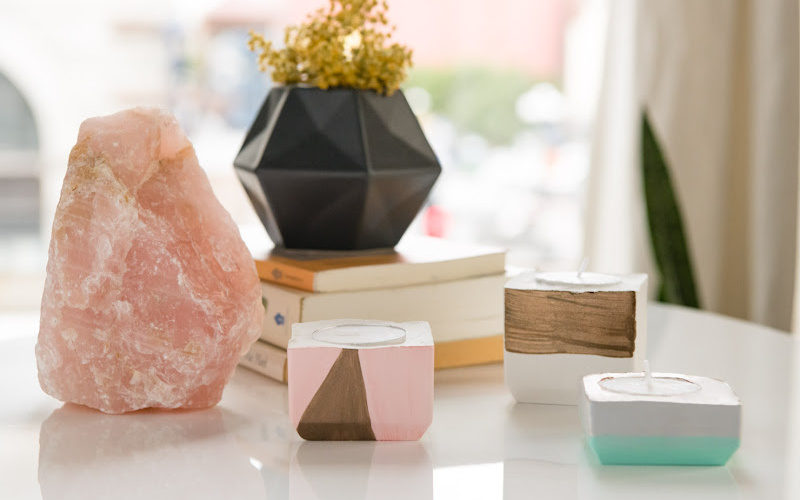
Candles are essential to every room. They can be used to create relaxation, romance, or a welcoming environment for your guests. Having a variety of heights and candle sizes also helps emphasize other decor pieces in your space. It’s always a good idea to include candles in your coffee table decor, kitchen island, and even on your night table. The best part about candles is that you can get creative with DIY candle holders. We recommend painting them to set your mood, style, and ambiance.
Whether you want to add some dazzle to your home, give a cool personalized gift, or spice up your plain candles, check out the candle holder tutorial below.
How To Make DIY Candle Holders
DIY candle holders are very easy to make. The most difficult step out of the eight in this process is waiting for them to dry! It is recommended to place a newspaper on your table since you will be working with plaster.
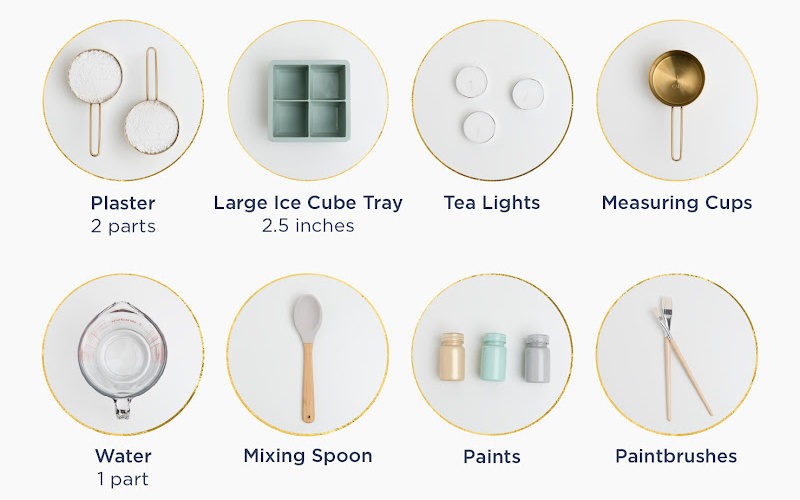
- 2 parts plaster
- 1 part water
- Large ice cube tray
- Tea lights
- Measuring cups
- Mixing spoon
- Paints
- Paintbrushes
Step 1
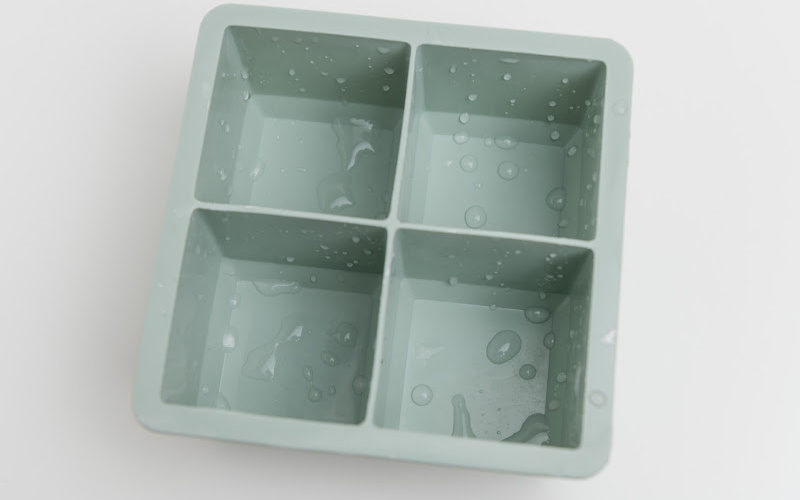
Coat the ice cube tray with water. This helps for the plaster to be removed smoothly after it has dried.
Step 2
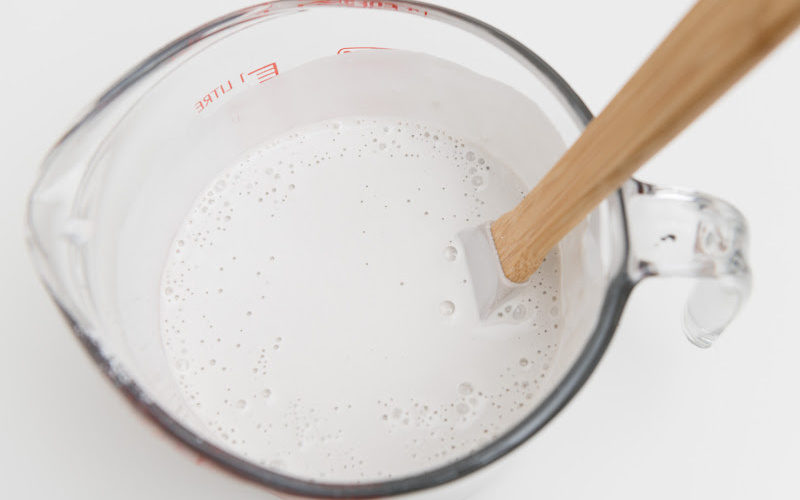
Mix together one part plaster with two parts water. Make sure you read the instructions on the plaster that you buy as it may require different amounts.
Step 3
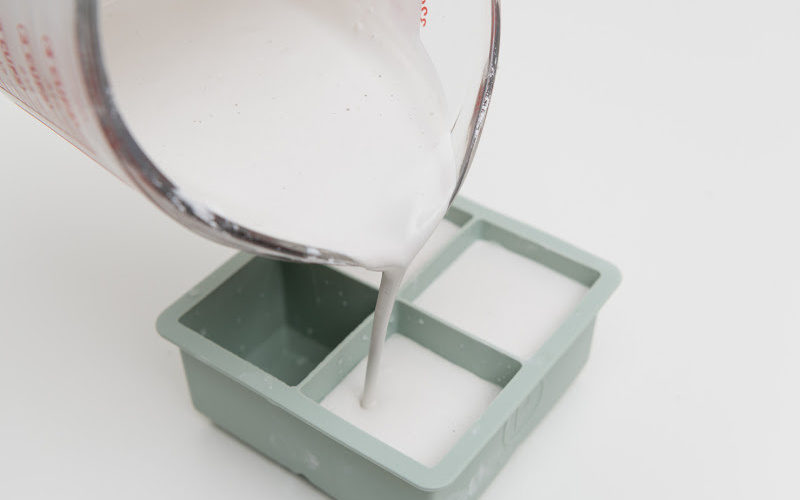
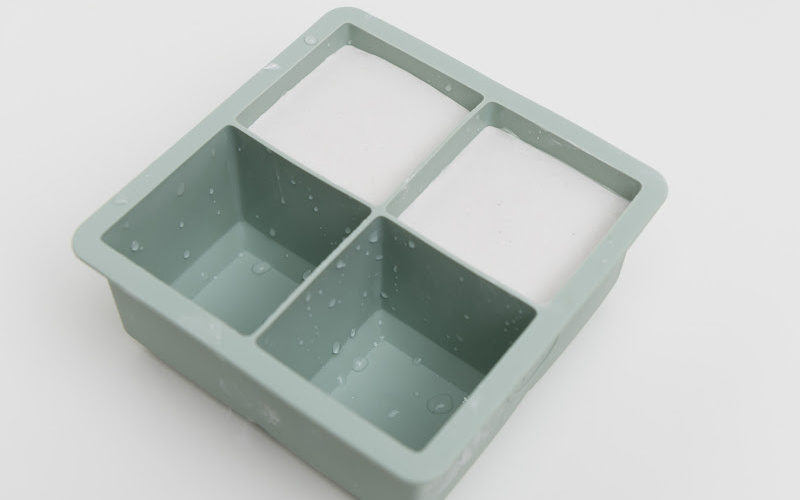
Pour the plaster into your ice cube tray and let them cure for about 10 minutes. It’s always best to check on it to ensure that it doesn’t harden too much. You’ll want the mixture thick enough to hold something in place but soft enough to still mold around the candle shell.
Step 4
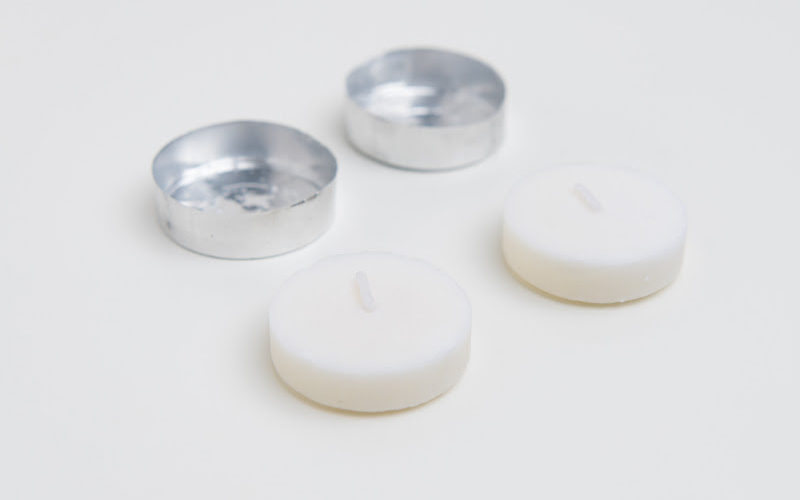
Separate the aluminum sleeve from your tea lights, these will be going into the plaster. Make sure they don’t lose their shape while doing so.
Step 5
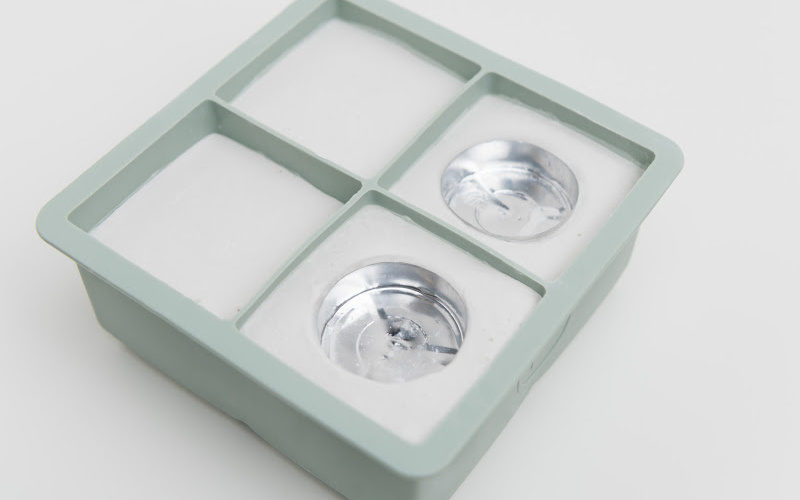
Place the aluminum sleeves into the plaster. Push down gently to secure them in place. Be careful that the plaster doesn’t pour into the aluminum sleeve.
Step 6
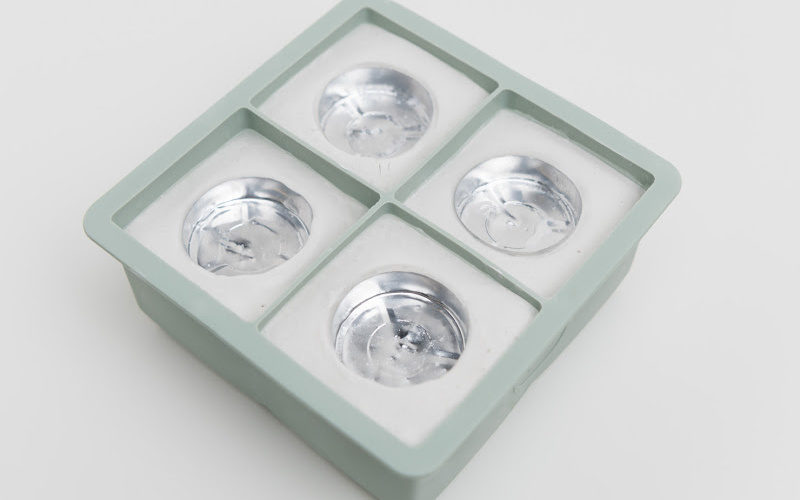
Let the plaster sit overnight for 24 hours. This will give the plaster enough time to harden.
Step 7
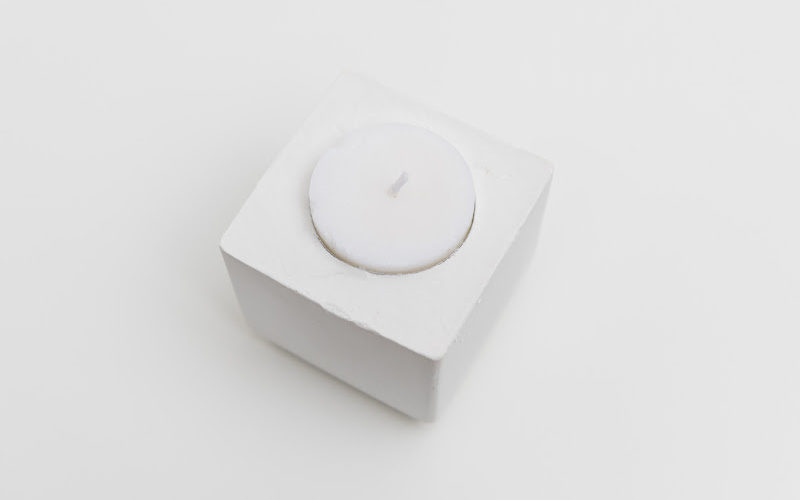
Pull the candle holder from the tray and start painting. While painting, use a variety of colors and include metallic to go with your home decor.
Step 8
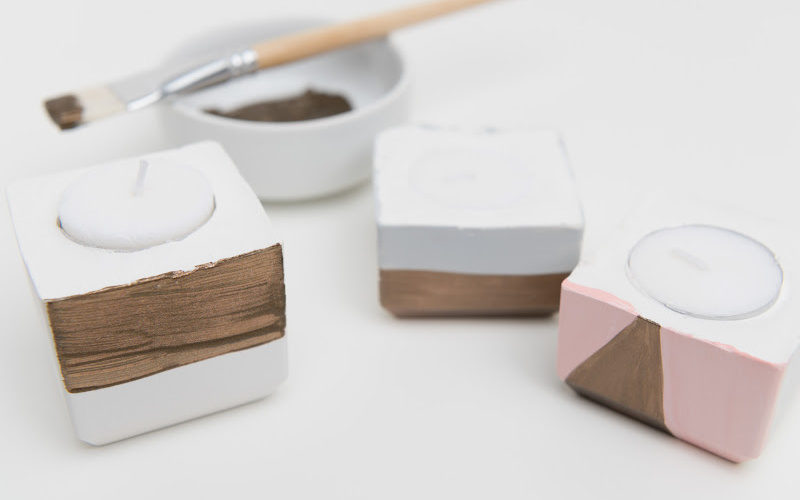
Set your new candle holders to dry and enjoy!
Tips For Decorating With Candles
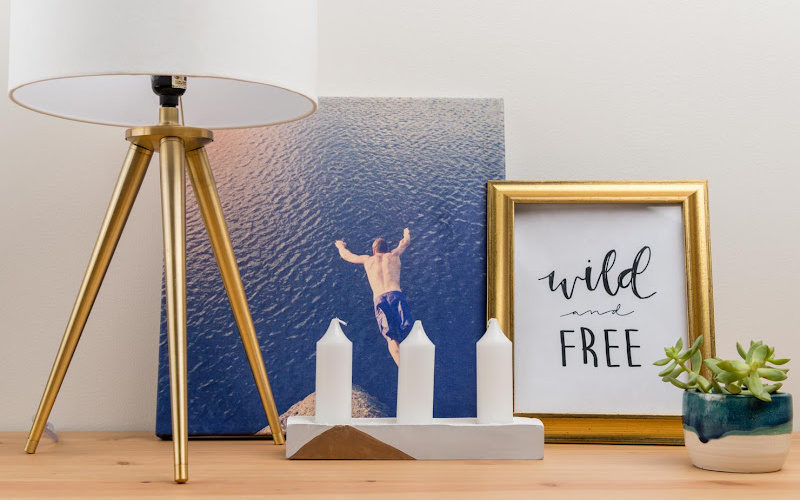
As mentioned, candles can create a beautiful atmosphere. Having different candle holders on hand will allow you to mix and match for every season and occasion. It’s best to have a mix of tea lights and simple white candles because they go with any style and color combination.
- Mix and match with plants, fresh flowers, and canvas prints.
- Play with different heights. Use a multi-tiered candle holder for a more dramatic and unique look.
- Dip any candle holder in gold paint for a quick elegant upgrade.
- Sprinkle a little essential oil on the candle (not the wick) while the candle is burning to give the room a relaxing scent.
- Include candles in a dinner party by placing them in the center of the table.
- When making a DIY candle holder, try using a mold that is horizontal and add three candles across for a different look.
Final Thoughts On DIY Candle Holders
As you can see, making DIY candle holders is easy, quick and fun to make. Pair them with a personalized candle for a unique and sweet gift for a loved one and mix and match a variety of shapes and colors. And for more inspiration and help with your candle decoration, make sure to visit our resource on candle sizes.

