How Do You Make A Simple Hanging Planter?
Written by Shutterfly Community
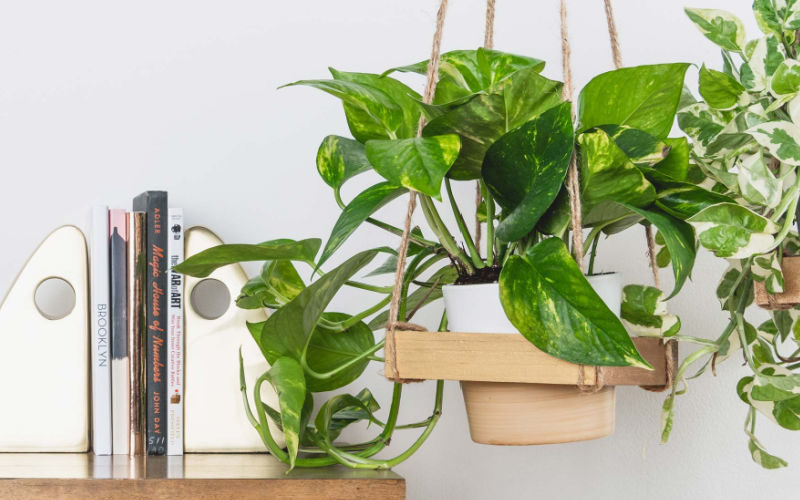
Are you tired of your living space looking dull and boring? Well, then why not spruce it up with some nature. There are plenty of ways you can transform a room with the right elements. When it comes to adding vibrance, hanging planters do the job. Not only do they introduce some much-needed greenery, but also tie everything together. Plus, a little extra oxygen never hurt anyone!
You’ve probably seen hundreds of aesthetic home décor ideas on Pinterest featuring plants. While many of these will redirect you to a store selling such products, you can do it yourself in half the money! Whether you want to have an indoor garden or adorn your patio, this cheap and easy DIY idea is remarkable. The answer to ‘How to make a simple hanging planter’ is simple, fun, and surprisingly only a tad time-consuming! To top it off, it gives off immense boho-chic vibes that will have you reveling in your upgraded environment.
Let's Make This Lovely Hanging Planter!
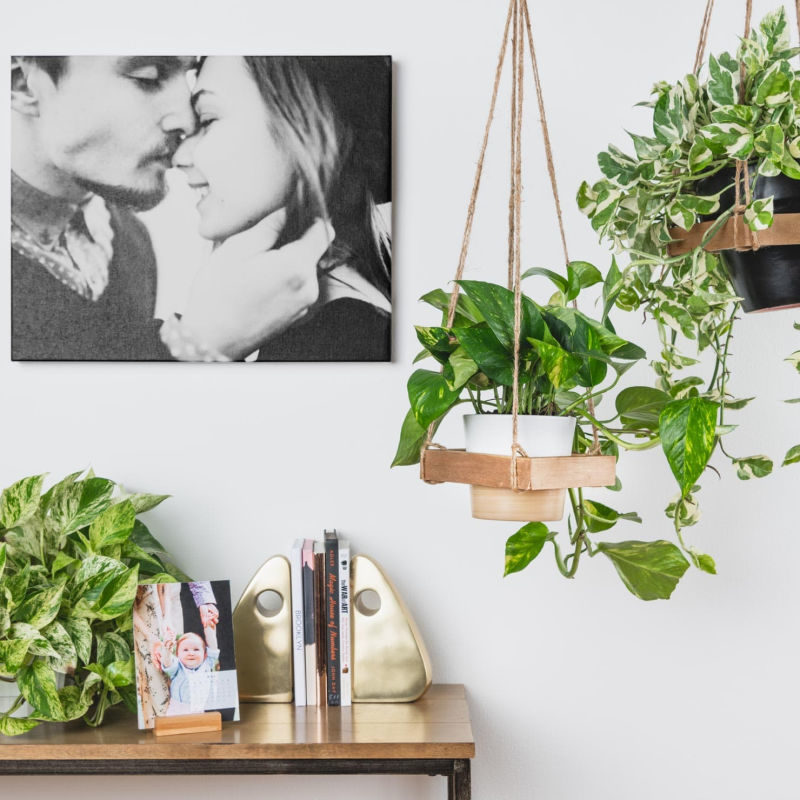
Here’s everything you’ll need:
● Rope
● Potted plant
● Wood polish or paint
● Scissors
● Wooden frame
● Paintbrush
Step 1:
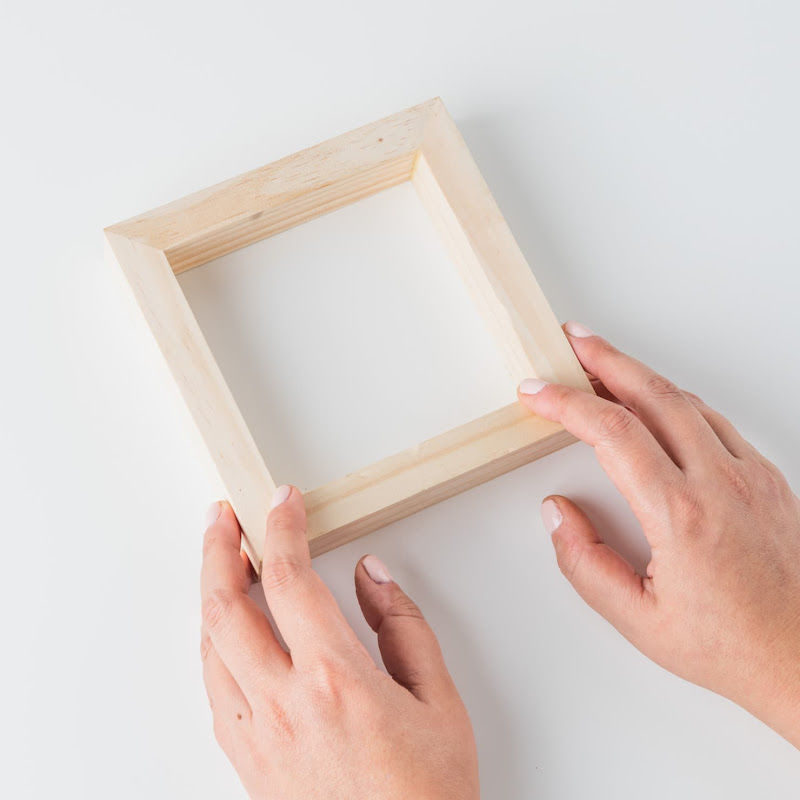
Grab a wooden frame from your nearest arts and craft store. The rustic, unfinished variety can be bought for a few dollars and if you go with smaller dimensions, you tend to save even more. Preferably, you should get a small-to-medium-sized frame that is strong and thick.
Step 2:
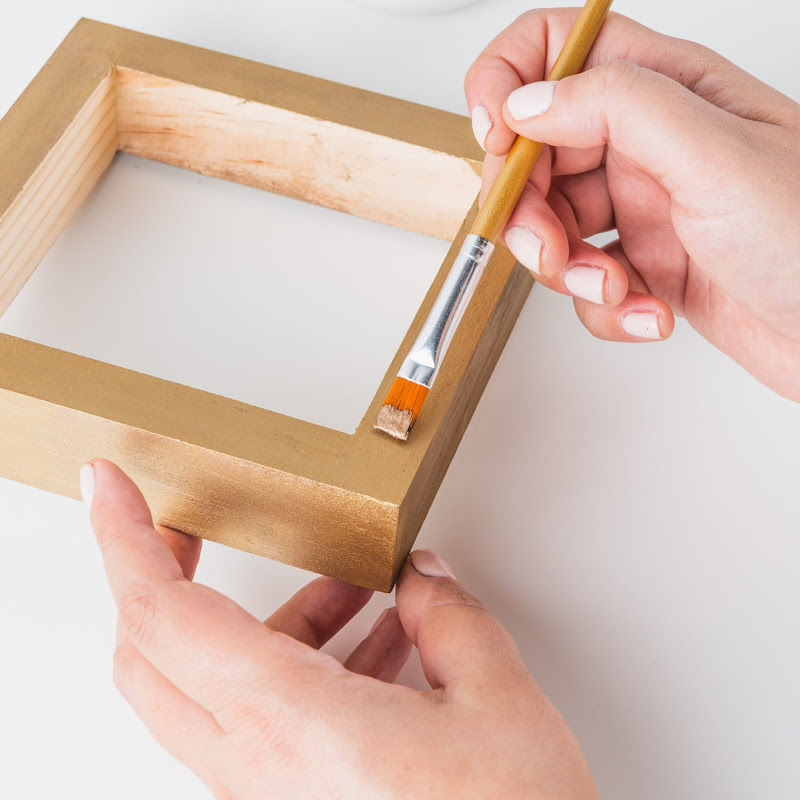
While you don’t necessarily have to paint the frame if you want it to look rough and ready, this step is always appreciated. Among all the hanging planters you can make, those with the sleekest design look best. And the right color of paint makes a huge difference in determining that. A great idea would be to find a color that accentuates the plant’s pot. Regardless, make sure that the paint or wood polish dries properly otherwise it might transfer elsewhere.
Step 3:
Cut the length of the jute rope according to your preferred height of the planter. Tie the rope around one edge of the wooden frame. To ensure everything is in place, you should go with thick jute that is less prone to wear and tear.
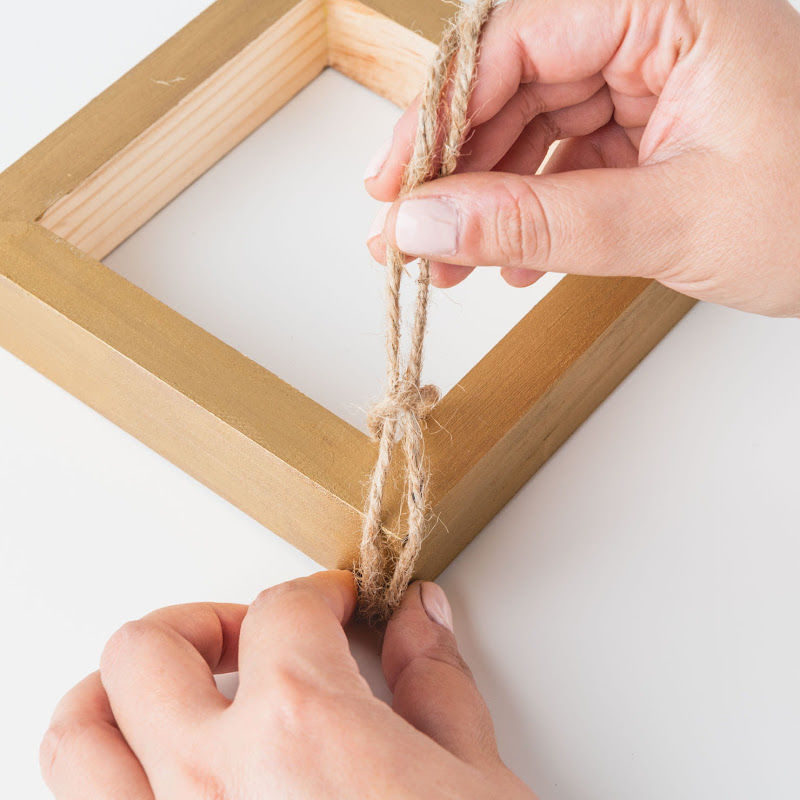
Step 4:
Knot the rope around every edge. Just like what you did in the previous step, you need to repeat the process for each end of the frame. Be careful when cutting the length to make it all equal.
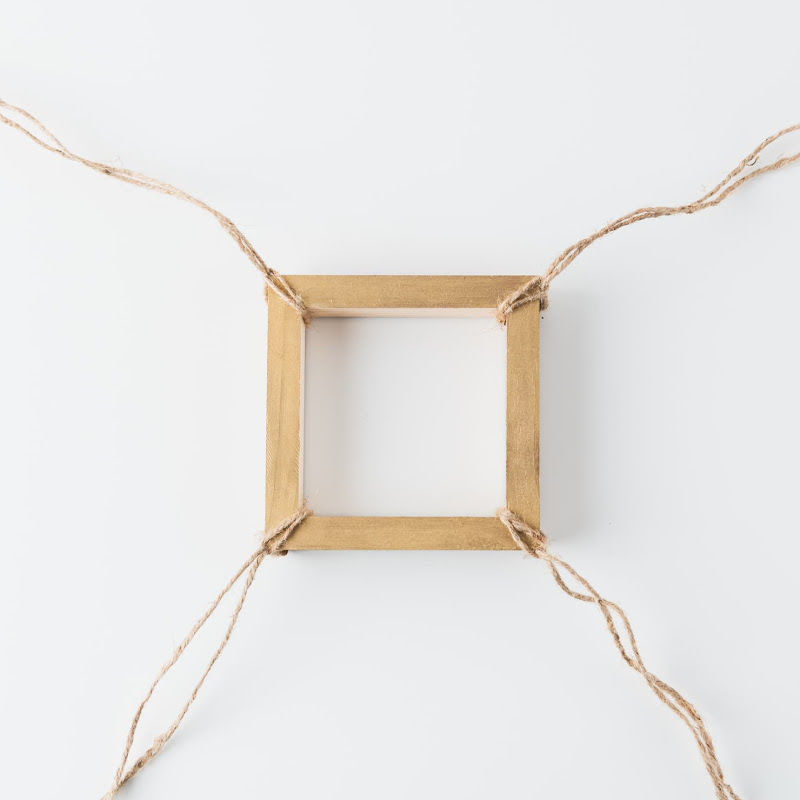
Step 5:
Take your pot and carefully place it in the wooden frame. You can choose from a list of different varieties such as cactus, fuchsias, geraniums, and more. If you want to add a little color, get peace lilies! These have dark green leaves and beautiful white flowers that stick upright.
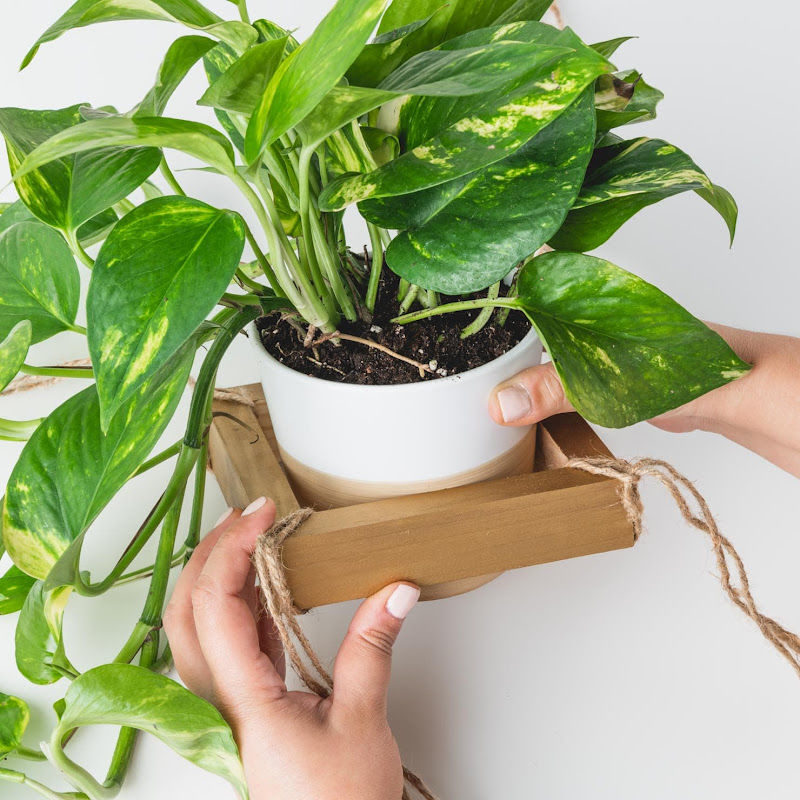
Step 6:
Hang it! This is the most exciting moment where you finally get to hang your DIY project. Simply take all the ends of the rope, tie them together and hang them at the top. Then, take a step back and admire how amazing the planter looks in your room.
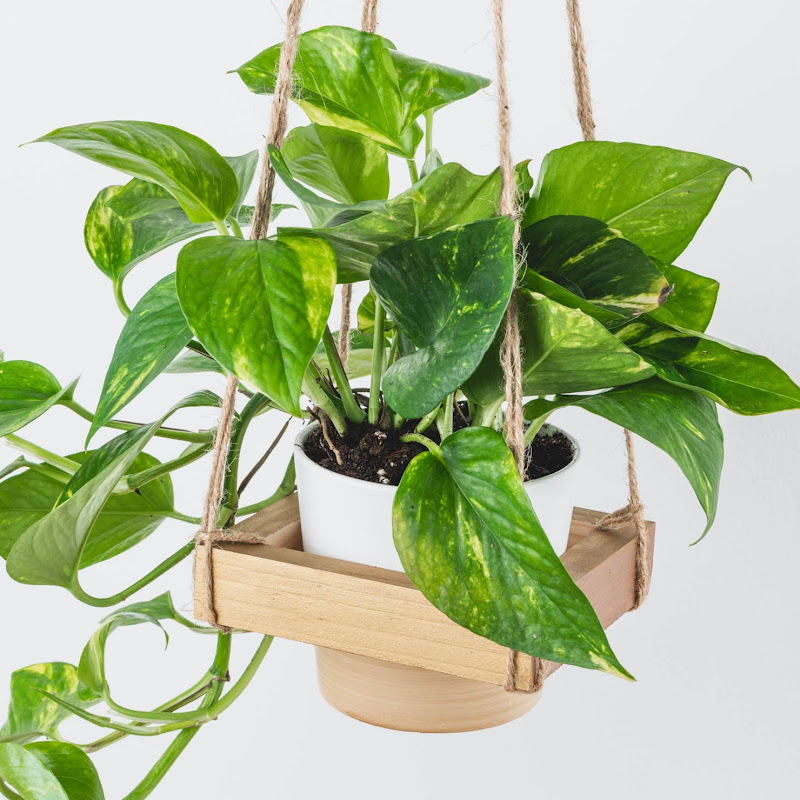
This DIY hanging planter is ideal for creating a garden in a small space or keeping indoor plants that need full-day of sunlight. Because you can use natural light to grow healthy indoor plants. You can find windows that get a lot of sunlight throughout the day, and hang some of your indoor plants there so they can get a full day of sunlight to grow healthy.
It is also a great way to keep those lovely houseplants that are toxic to dogs. So, would this be on your next home DIY project list?


